Microgreens 101
By Laura Duggan
By Laura Duggan


VEGETABLE GARDENING gained popularity this year as many people explored new hobbies during self-quarantine. But as we put our outdoor gardens to bed for the winter, opportunities to grow our own fresh produce and shop farmers’ markets dwindle. Growing microgreens indoors allows gardeners to extend the growing season and boost their nutritional intake.
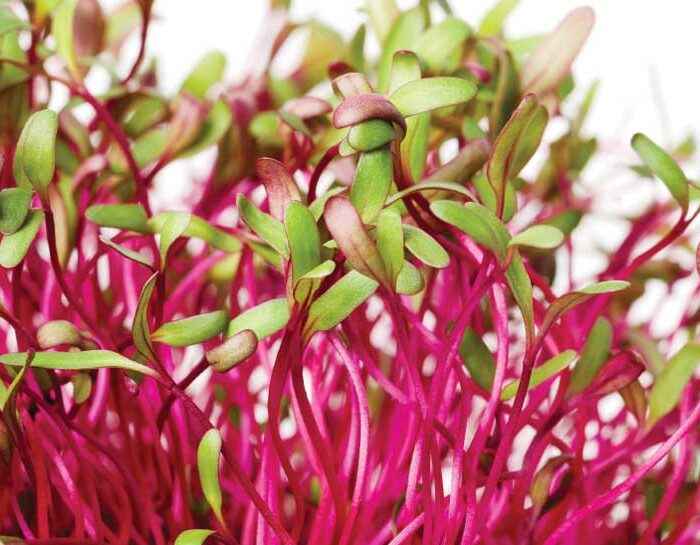
Microgreens are tiny, young seedlings grown from regular vegetable or herb seeds. Instead of letting the plants grow into mature vegetables, they are harvested within approximately two weeks of planting. Delicate and full of flavor, these wholesome plants are easy to grow and are packed full of nutrients. Unlike sprouts that are grown in water and dark environments, microgreens are grown in soil and sunshine. If you have ever started a vegetable plant from seed, then you have most likely grown microgreens. While not every plant produces a tasty microgreen, popular greens to grow are kale, arugula, beet, spinach, radish, basil, broccoli, cauliflower, mustard, and cabbage. The seedlings take on the flavor and nutritional profile of their fully grown equivalent and can be grown indoors year-round.

According to Elliot Hirsch, owner of local business Lake Forest Farms that produces organically grown microgreens, they were mainly used in fine dining establishments for their beautiful and flavorful additions to cuisine. But about five years ago, the USDA started paying attention to the health and wellness benefits. Studies revealed that microgreens have incredibly high nutritional value. “They found that microgreens contain about 40 times more nutrients by weight than their fully-grown counterparts, which is a decent average, but some nutrients can even be up to 500 times more,” Hirsch says.
Before starting Lake Forest Farms, Hirsch began growing microgreens in his basement under lights with the simple goal of improving his own diet. He recommends that beginners start with easy-to-grow pea shoots or brassica plants like broccoli. “Microgreens are very forgiving,” he says, “a sunny spot or ambient light will work. Just be sure to avoid cold drafts from windows during the winter months or a place where your cat can get to them before you do.”
He recommends using the snipped greens anywhere you would use a fresh vegetable. For example, he suggests that instead of using a large amount of kale in your smoothie—which will make it taste like kale no matter how many strawberries you put in it—a small handful of kale microgreens will deliver the same nutritional benefits.

Ready to give microgreen gardening a try? Although there are many tricks and techniques, start simply. You really only need a few supplies: a container, soil, seeds, water, and sun.
Select a container at least two inches deep and fill with organic indoor potting mix. Pre-moisten the soil. Evenly scatter a layer of seeds on top of the soil. Because the plants will not grow very large, you do not need to worry about overcrowding. Top seeds with a thin layer of additional soil.
Spray soil with a spray bottle filled with water until evenly wet.
Place in a bright, sunny location and keep soil evenly damp by spritzing with water at least twice a day. Rotate planter toward the sunlight as needed for even growing.
After about ten days to two weeks—growth will vary with seed type—you will see the true, small leaf of the plant begin to develop. The plants will be about two inches tall. Snip with scissors at base of stem just above soil level.
Sprinkle a handful into your next salad, smoothie, soup, sandwich, or omelet for a boost of nutrition and flavor.
Armchair gardeners rejoice! Both fresh and dehydrated locally grown organic microgreens can be delivered right to your door by Lake Forest Farms. For more information, visit lakeforest.farm.
Sign Up for the JWC Media Email